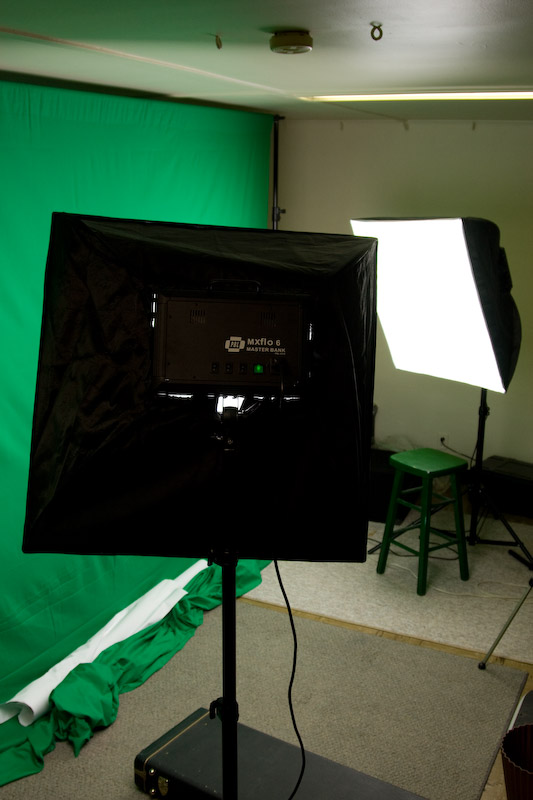
The setup - 2, PBL MXflo 6 light head with 32"x32" soft boxes in front of a 10'x12' green screen.
We’ve all seen it used on TV whether we realized it or not. A green screen is what the local weather man stands in front of while he/she points to the current temps from around the country. On the set they are simply standing in front of a green background known as a green screen. What we see at home is that green background replaced with graphics, images or even video footage. Recently we decided to purchase a green screen to give us some additional options when shooting video interviews. The next step was to see how well it actually worked for that purpose.
The setup was 2 PBL MXflo 6 light heads with 32″x32″ soft boxes. Each MXflo 6 head holds 6, 45 watt fluorescent bulbs which is equivalent to 900 watts of incandescent light. The lights are color temperature corrected to 5100K which is similar to daylight.
The lights were part of a cool flo 2 light kit from TubeTape.com. The background support and green screen, also from tubetape.com were part a green screen and support stand kit.
The biggest challenge was getting the green screen wrinkle free, but about 30 minutes with a steam iron fixed that. It was also a bit of a puzzle assembling the soft boxes, but there were excellent video directions available on tubetape.com.
In fact that’s how I found these guys in the first place. I googled something about continuous lighting and found a video review on Youtube. It was a perfect example of how influential a good video can be. There are a lot of places I could have ordered a light setup like this from, but their video review and friendly website gave me the assurance I needed to move forward with a purchase.
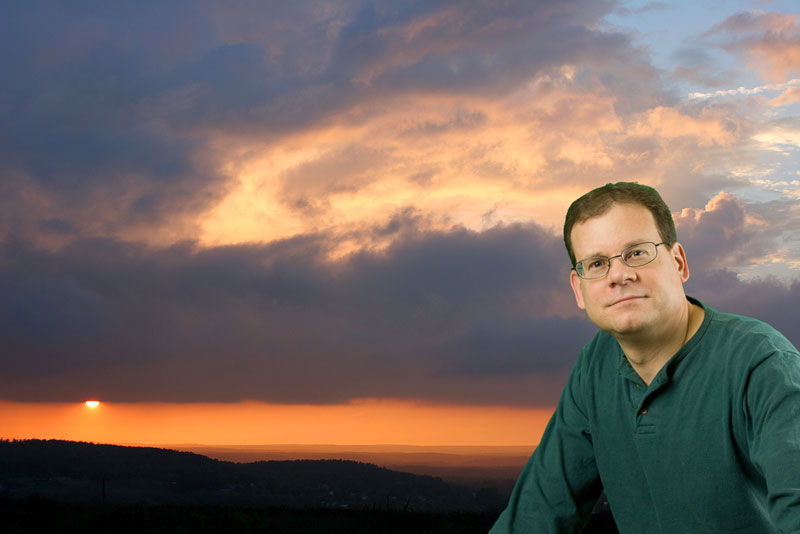
Still shot using a green screen.
The first thing I noticed when I switched on the lights was how white the light was. We typically are not used to seeing a daylight color temperature from a light indoors. They are color balanced to 5100K so you need to remember to set your camera accordingly.
They seemed very bright and for video they are, but I did find that for still photography they are just barely enough. I had to use ISO 400 @ f/4 just to get 1/80th of a second shutter speed. Of course the soft boxes did diffuse the light nicely and because they use fluorescent bulbs the lights are cool so you can get them in close to your subject to further improve their intensity.
But the main purpose for getting these lights was for video and that is what I wanted to test. With green screen wrinkle free and the light positioned to illuminate it evenly it was time to test it out.
One advantage to the large 32″ x 32″ soft boxes is that it you can easily light the subject and the background with the same light. In the top picture you can see my setup. I stood right between the lights just in front of the green screen. The size of the soft box allowed me to position the lights so they lit me and the background without casting any shadows. The video camera was about 6 feet in front of me.
Now you may be asking why worry so much about lighting the background. Well, in order to remove the green background during the video editing process you need to have a consistent color. I was able to do that pretty well with the 2 lights I had, but there were some darker areas near the bottom. Still it was good enough to allow me to remove all of the background in Final Cut Express 4.
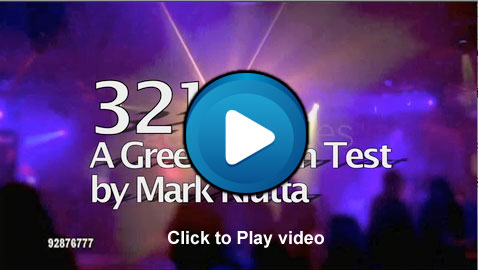
Below is the finished product of my test. It was actually quite fun to do and even more fun once it was finalized. By the way the music was an original instrumental I put together one day last weekend using Garage Band. The guitar parts were recorded using a LINE 6 POD XT Live guitar amp modeler which was plugged into a MacBook Pro and recorded in Garage Band. The background video was sample footage I downloaded from Getty Images.
Bottom line is that the green screen worked better than I expected. It’s not perfect however. If you look closely you may notice a faint green edge around me at times. A little more tweaking with the chroma key setting in Final Cut might remove that, but in this particular case with a fast moving background it’s not too obvious. If money is no object you can buy the best chroma key software available and get it perfect, but at least I now know what can be done using this technology with what I have.
I have to admit that this was a lot of fun to put together. I still get a kick out of watching it and seeing 2 of me in front of fast moving video footage.

#1 by Joe Smith on January 16th, 2010
Mark, Great information! Thanks for sharing your experience and the vendor you bought the lights from!